GET THE STICKS OUT.
Your corner is ready. Pick one idea from your lesson or a PPR recording.
THE BDE HOME-PRACTICE GUIDE
LOVE YOUR PRACTICING CORNER!
Hello drummer!! GOOD NEWS! Too many people don’t start drumming because they think they need a drum set at home! WRONG! SAD!
LET’S BUILD YOUR PLAYGROUND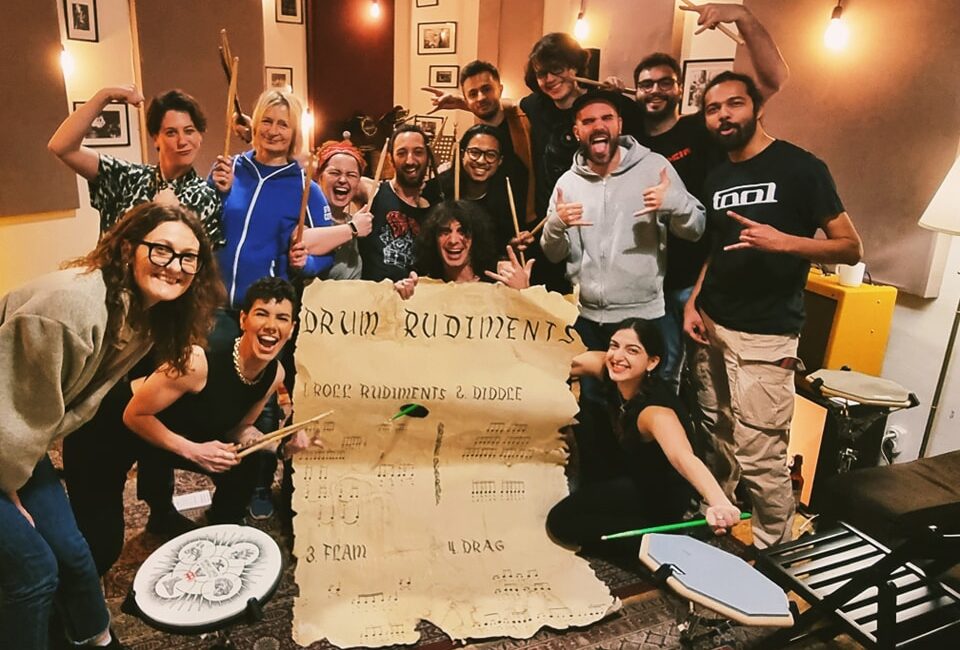
LET’S MAKE STARTING EASY.
First of all: your own body is the best percussion there is. Second: ANY OBJECT around you is a drum.
You do not need a drumkit at home. A pad, sticks and a comfortable place to practise can get you started. And if you study with us, practice space at BDE is free, by arrangement and room availability around lessons and school events.
To start with, unless you are an alien you need to make practicing simple, fun and effective. ALSO, you need to build a routine. How often do you think you should practice? Yes, you guessed it right: EVERYDAY. Practice should not be painful, it should be one of the best moments of your day. Let’s work together to make it that way from now on!
START WITH WHAT YOU HAVE.
Tick off the things you have ready. This is a setup check, not a shopping list.
0 OF 5 READY
CARPETS & ATMOSPHERE
You need a place that looks good, feels good and makes you comfortable and accomplished. Everything is a drum, but aside from playing everything in the house which is so much fun and primordial, don’t be superficial, especially in the early stages. A good posture and an organized/professional space will go a long way and it does not need to be expensive!! Love your practicing corner!
To start with, you want to select a small area of your apartment/room that you are going to make super pretty and that is going to be your fun and focused practicing corner!! Be proud of it!! Imagine this: friends come visiting you at your place, you show around... yeah yeah yeah and that’s the house, BUT... HEY COME CHECK OUT MY BEAUTIFUL PRACTICING LOUNGE!! It needs to be easy to access and with everything (EVERYTHING) ready to use. A place you’d also choose to chill instead of the couch, or even just for a 5 minutes break while cooking or whatever!
It would be also nice and appropriate to create a light atmosphere for practicing. This way you can switch everything else off and just really create a focused area.
I mean we are no lamps experts (Marco just has a light-fetish!) so we will avoid specific links!
Don’t undervalue the importance of a good atmosphere to help you reach the right mindset for the topic you are practicing!
A NOTE ABOUT THE GEAR LINKS. These are examples to compare, not a required shopping list. Try the fit, balance and setup for yourself. Product options, sellers and availability can change.
Affiliate disclosure: The Amazon links in this guide are affiliate links. As an Amazon Associate I earn from qualifying purchases. Als Amazon-Partner verdiene ich an qualifizierten Verkäufen.
PRACTICE PADS
Anyway, now it’s time (even before the carpet), to get your PRACTICE PAD.
Of course ours are only suggestions, then... you decide what works for YOU! It is fundamental to separate “development of technique” and “applications/discovery of ideas”. The first is done on a practice pad, the second is on our wonderful drums! You will learn more on the subject as we go along with both lessons and PPR sessions!
Most drummers have MANY practice pads because slowly you will totally fall in love with it and will not be able to resist getting more! We are like children!
There are pads to put on your leg, pads that stick on a wall, pads with more resistance and so on and so forth!! I mean, you will see what to put in your practicing playground as time goes along!
A larger pad can sit in a compatible snare stand. A small travel pad may use a threaded stand; check the pad’s actual mount and the stand’s adjustment range before buying.
A LARGER PAD gives you a home base. A SMALLER PAD is easier to take along. A KNEE PAD keeps things portable. Try the playing feel, not just the size.
SEAT & STAND · PART OF THE SAME SETUP
Ok, you might wonder, now I made space for my practicing lounge, I got a carpet I like, an incredible voice-controlled lighting system, I have the coolest practice pad, an adjustable stool... ehm... but where the heck should I position the pad to actually practice?
Eheh! Right! We are missing a VERY important piece of hardware!
THE PAD-STAND which is of course also adjustable in height!
Mmmm... now, you don’t want to be one of those students that practices in those horrendous positions. Professionals might afford a bit of superficiality, yet they tend not to, ask yourself why? One thing is messing around (which you should of course do all the time), another is proper practice that will give you a better awareness (of your own body – through the tools – onto the instrument). Especially in your first years of drumming, posture, clarity and proper movement is EVERYTHING! You are after all a dancer that learns various choreographies to hit all sorts of objects around you eheh.
A drum-chair (Stool/Throne) adjustable in height and possibly comfortable as you will spend (hopefully) a lot of time on it!!
Try the seat and pad together. Check that the basket or mount holds your pad securely, with a height you can play comfortably. You can also look for a second-hand (second butt?) throne.
DRUMSTICKS
LET’S NOT FORGET THE MOST IMPORTANT THING: Drumsticks!
It’s also a personal taste. Compare ordinary wooden sticks with longer or marching-style sticks on the pad, and notice the grip, balance, sound and feeling.
Do not overthink and try a few!!
Ask during a lesson or PPR session before choosing. Start with a pair you can control comfortably; you don’t have to buy every option.
Different sticks, different feeling. Let your hands decide.
YOUR DRUMBOOK
Wonderful, you are almost ready to embark on a properly organized journey! We are just missing a few little things that will also make a difference in your daily practice sessions.
A note-stand adjustable in height, a little reading light if you need it, and music sheets or any notebook—even plain white paper. A4 would be best. Have a pen or a pencil (and eraser) always near the stand ready to be used!
BRING this notebook (YOUR DRUMBOOK) always with you at your drum lesson! It’s important!
For us to check on what you already did and go deeper on various topics, for you to write down ideas during the lesson, to not forget ideas (never trust your memory!), but most of all because what now may seem “just” a groove or an exercise will turn out to be a MUCH more valuable insight the more you grow as a drummer!! You will be able to see gold in what now may seem just a pattern to repeat. Don’t let that slip away!!
Ideally with time you get a RING BINDER with TRANSPARENT FILMS with COLOURED CARDBOARDS to arrange the things you learn not sequentially, but rather based on different drum-topics and be able to retrieve them quickly as well! Learning made simple!
TIME & MUSIC
…after the bass player…
THE METRONOME!
When we practice we do not want distractions... so... phones away!
A nice digital metronome that is always ready to be used is what you are looking for.
Of course it’s nice to have a ready-to-use speaker on the side for us to also play and practice on top of music without having to plug in a thousand cables or building a huge P.A.
A phone metronome can also get you started. Put notifications away, choose a comfortable pulse and listen. For playing along with music, use a speaker or headphones you already have at a comfortable level.
FOUR LIMBS. MANY POSSIBILITIES.
Did you notice we covered only 2 limbs out of 4?? What about your feet? RIGHT! Whoooops!
Please do not forget to insert feet practice into your routine! Ask your teachers for ideas and ways to do that with a fun and effective method, especially during our PPR sessions. Most of all, as with everything: GET CREATIVE!
Begin with your feet on the floor. A pedal pad is an optional next step. Pedals and foot practice can send vibration into the floor; a pad does not make a setup silent. Check what works in your room and keep it stable.
Practice all the rudiments and patterns always with hands and then also with feet!! Then explore different interactions and combinations! We will learn many things together, so for now, explore!
LATER ON
Brushes, single and double pedals, alternative practice surfaces, electronic drums, recording your playing… there is plenty to explore. Add a tool when you know what you want it to help you practise.
Try things out, look for yourself! Compare brands directly, visit a local music shop, look at second-hand options or ask us what you can try during a lesson.
Remember not to simply use the pads as a substitute for drums, these are two separate disciplines with their own beauty and character. NOW, it’s time for rudiments, understanding, training and awareness!!
The earlier you start the easier it will be! Enjoy the journey!!
ASK THE DRUMGANG06 / PRACTICE PAD ROUTINE
Practice doesn’t make perfect. Practice makes permanent. Perfect practice makes perfect.
Pay attention, stay curious and have fun. We’re not asking you to be flawless.
Your corner is ready. Pick one idea from your lesson or a PPR recording.
Take it at a comfortable pace. Try it, notice what happens and try again.
What did you notice? What do you want to explore tomorrow?
GOOD PRACTICE. GOOD COMPANY.
PPRitual, Rhythmic Transcriptions, Planetary System recordings and the programme for upcoming sessions.
EXPLORE THE PPR LIBRARY PPR DONATION & FREE LESSON ROOMS